Step 1 — Sending Mail to Other Mail Servers
The Outgoing Panel
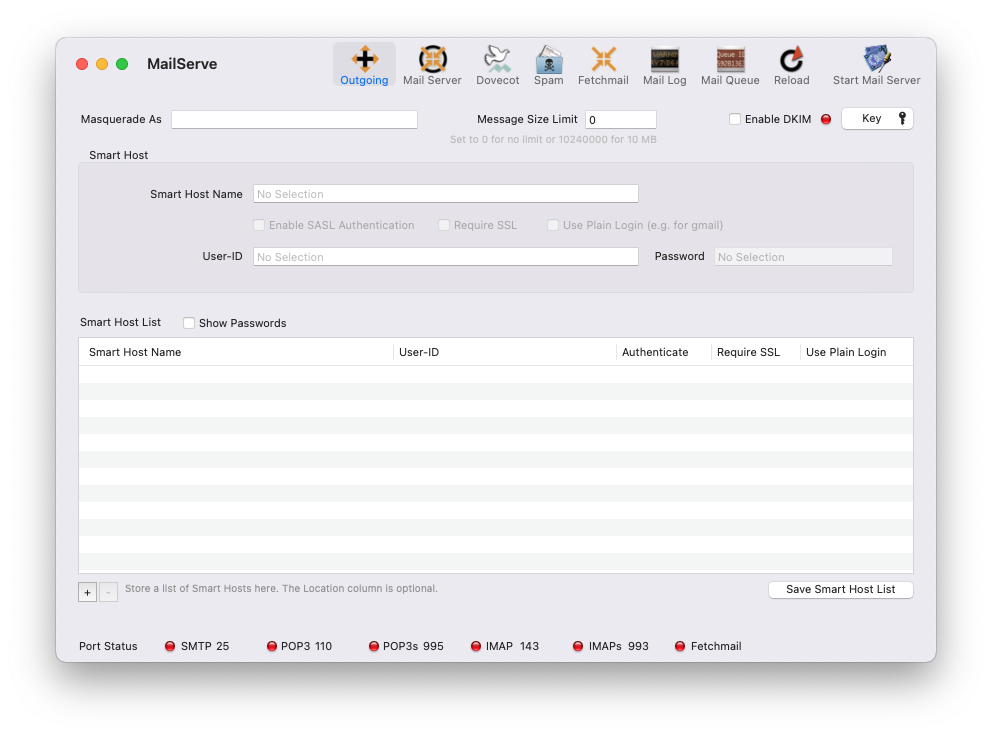
MailServe's Outgoing Mail Setup Panel can be reached via the first (extreme left) button on its Toolbar, below.
Click on the Start Mail Server button.
The SMTP port status indicator at the bottom-left of the window will turn ember for a while and then green. And the Start Mail Server button label will show "Restart Mail Server. This will be your cue that the SMTP server is now active and ready for use.
It's that easy. Your Mac is now ready to send mail as a fully-functioning SMTP server.
With the Postfix SMTP server now active, you should be able to send mail from a mail client like Mail.app running your server machine, as well as any PHP or command-line scripts.
There are a couple of cases where this is not enough and you would have to take the additional step of setting up a Smart Host.
One is where you're on a network whose ISP blocks port 25, thus preventing your server from sending out any mail—unless the mail is routed first through the ISP's designated SMTP server, using it as a Smart Host.
The other is if your server is on a dynamically assigned public IP address and you're finding a lot of your outgoing mail being returned as spam—this is because some mail server admins assume that all mail coming from a dynamic IP address are spam (which is a rather simplistic assumption but never mind).
In either of these cases, the problem can be solved by routing your server's outgoing mail through a Smart Host. Please read the "Setting up a Smart Host" section below.
Setting up a Smart Host
This is how you set up a Smart Host. First, check with your Internet provider and ask them for an SMTP server you can use as a Smart Host. Ask if you need to authenticate with it, the user name and password you should use, and whether it requires the connection to be made over SSL, or via a port other than port 25.
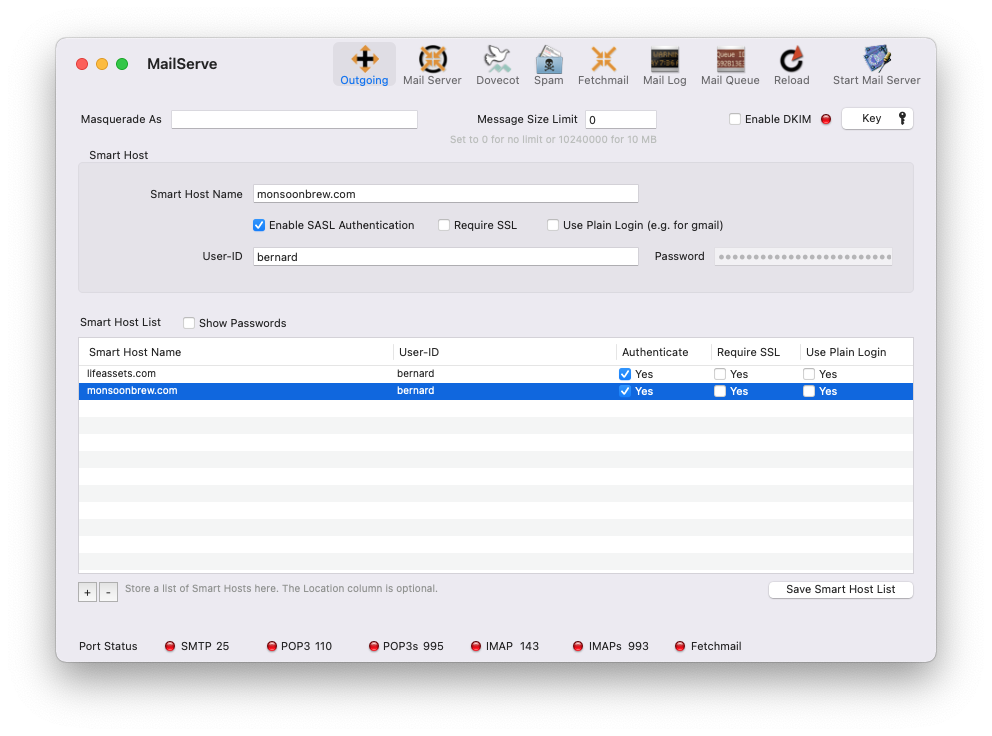
Enter all these parameters into the MailServe interface, as shown below.
Note : if the Smart Host needs to be contacted on a port other than 25, add the port number after the Smart Host name, after a colon. Like this : mail.singnet.com.sg:587
Use the “Use Plain Login” checkbox if the Smart Host is smtp.gmail.com (which requires the password authentication mechanism to be of type “plain”), or some such similar SMTP servers.
If you prefer not to ask your ISP, then the parameters you should use are probably those you would enter into a Mail client like Mail.app, if you were to use your ISP's designated outgoing SMTP server as the Outgoing Mail Server in Mail's account preferences.
But do note this : some ISP network admins have set up their SMTP server to, specifically, refuse to relay for mail coming from another mail server, as opposed to a normal mail client. So it's often important to check. Some ISPs may simply unblock port 25 for you, if you would just ask.
If you need to save a list of Smart Hosts, for when you are on different networks or locations, store them in MailServe's Smart Host list.
DKIM (Domain Keys Identified Mail)
From version 15.1 of MailServe, you can now turn on support for DKIM with just one click. DKIM works with the Domain Name System to prove that your mail server is the legitimate mail server for your domain. When a message is sent from your domain, a DKIM-enabled mail server will sign it. When the message arrives at a DKIM-enabled recipient server, the latter server will look up a TXT record at the sender domain’s Domain Name Server, which contains a key that will prove that the message indeed was sent by your domain. If not, the receiving mail server can choose to simply reject the mail. The idea is prevent email from being forged or spoofed by spammers.
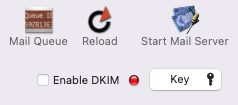
To implement DKIM for your mail server, click on the Key button to show the DKIM Keys Dialog Box. 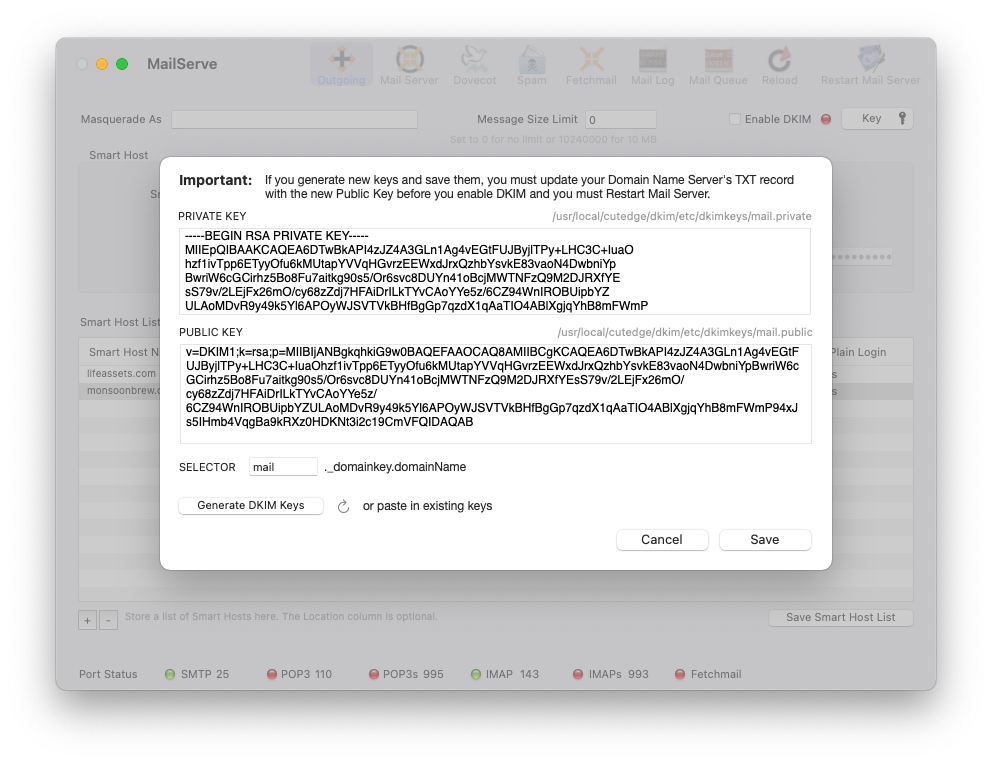
Here you can either paste in the keys you used in a previous implementation of DKIM, in which case you will know what a SELECTOR means. Or, you can simply generate new keys. Only the Public Key is significant for the next step. Copy the entirety of the contents of the Public Key field to your Domain name Server and enter this as the value of a TXT record for the host selector._domainkey.domainName, where selector defaults to “mail” for MailServe but may be any value you used in a previous DKIM implementation. Save the keys, which exits the dialog box.
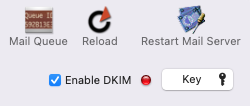
The Enable DKIM checkbox can now be selected. Select it and Restart Mail Server. The DKIM indicator light should turn green (check the Activity Monitor app for a process called opendkim, to prove that dkim is running). You can now test that your mail server is DKIM-enabled. Send a test message to check-auth@verifier.port25.com from your now DKIM-enabled mail server. If DKIM works, you will see a reply coming back like this :
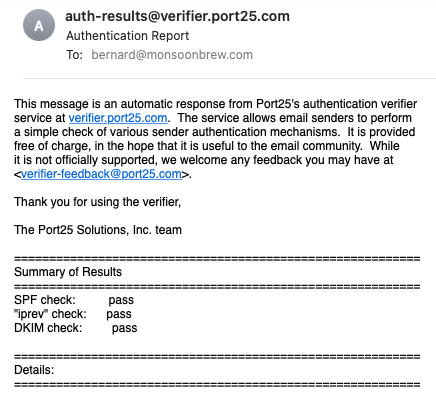
PS : While you are creating the DKIM TXT record at your DNS Server, create an SPF TXT record, like this : v=spf1 mx ~all. Create also a DMARC TXT record, like this : v=DMARC1; p=quarantine; adkim=s; aspf=s; rua=mailto:your@email.address;
PS: Do a Google searcxh on DKIM, SPF and DMARC to learn how to improve the security of your mail server.
Alternatively, you can send a test message to any Gmail account you have, and then check the message “Raw Source”. You should see dkim=pass.
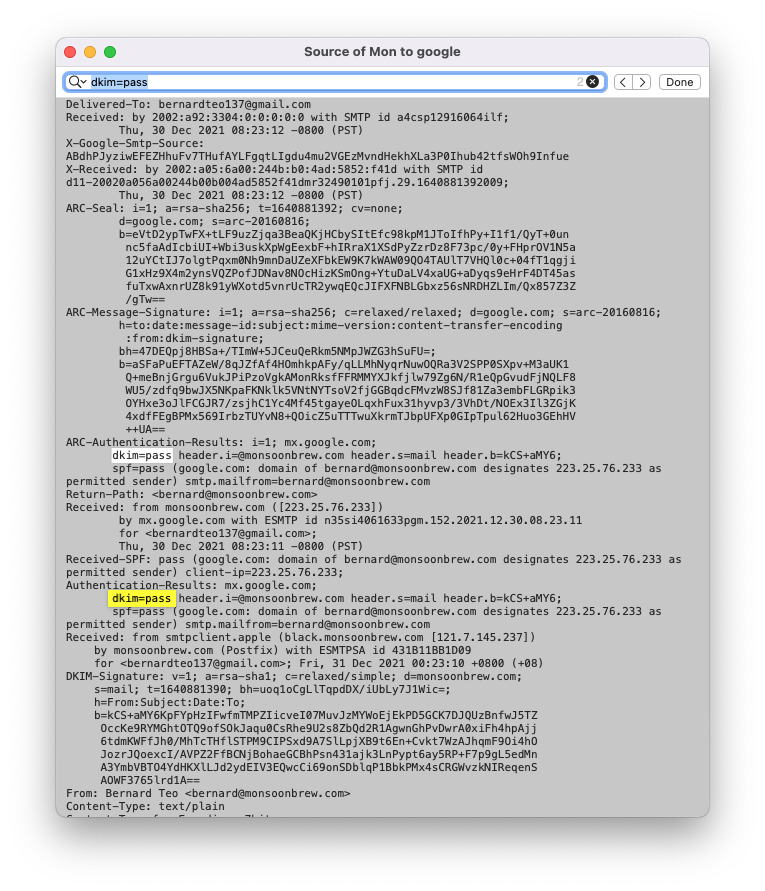
For best results, use a static IP address to run a full-fledged mail server. There’s no reason why a mail server on a Mac cannot be the best, most secure, most buzzword-compliant mail server that money can buy.
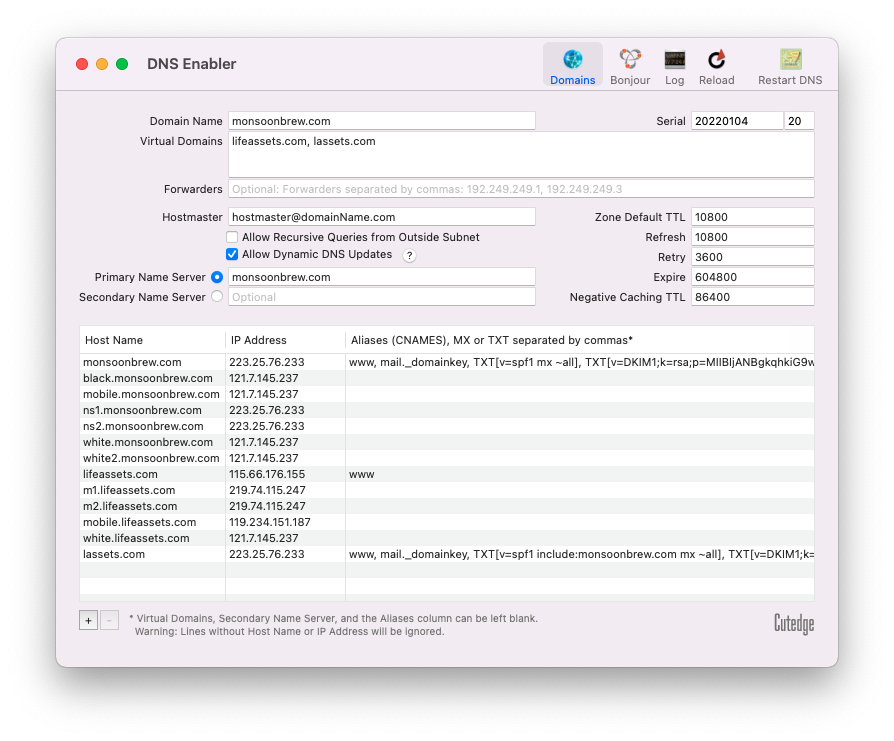
From version 15.1.4, DKIM will also work with Additional Domains. If Enable DKIM is on, just enter the other domain names that your mail server will host into the Additional Domains field and Restart Mail Server. MailServe will set up the mail server to sign keys for the other domains in addition to the primary domain.
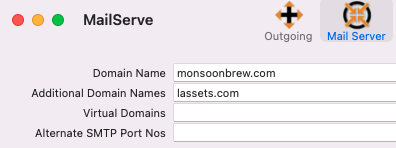
However you must make sure to also set up the DKIM TXT records for each of these extra domains at their respective name servers. The picture below shows the domains listed in MailServe being managed by DNS Enabler. Notice that both the main domain, monsoonbrew.com, and the “additional” domain, lassets.com, need to have DKIM TXT records created. You get the contents of the DKIM TXT record from the Public Key field in the DKIM dialog box (accessible from the Outgoing panel) in MailServe. You can use the same public key for both domains.
Be aware that it may take time for these new TXT records to propagate thorugh the Domain name System - so DKIM on MailServe may take a while to work, while waiting for the DNS records to propagate.


The serial number & download link will be displayed in the browser after payment, and will also be sent via email.
Note :
Also, I’m still updating the MailServe for Monterey documentation.
Download
MailServe for Monterey
Please provide the email address you used to purchase the product, together with its serial no:
This is a Universal "fat binary”, with both ARM and Intel “slices”.
Contact
Bernard Teo
New! Download
This is a Universal "fat binary”, which will install HomeBrew and Letsencrypt Certbot in /opt/homebrew-cutedge in either ARM or Intel versions.